JAWS – it is a name that doesn‘t need introduction. We are all familiar with the Jaw dropping movie that used to creep you out when you were a kid. However, it is actually the name of a novel written by Peter Benchley, which turned out to be an awesome thriller film by Steven Spielberg.
Today, we are going to make a poster of it in Photoshop. In this tutorial, we will show you how to create a JAWS Movie Poster in Photoshop. Without further ado, let‘s get started.
If you like this article, you might be interested in some of our other articles on Enhance Photos and Still Keeping Skin Pores, Valentine‘s Day Photo Manipulation Tutorial, Create A Realistic Moon, and Photoshop Cheatsheets.
- Program: Adobe Photoshop CS3
- Difficulty: Intermediate
- Estimated Time: 1 – 2 hrs
What we`ll be doing today
Image may be NSFW.
Clik here to view.
Tutorial Sources:
Here are the sources used
Brushes:
Step 1
Let‘s start by creating a new document. Set the dimensions of the canvas to 2400×3600px.
Image may be NSFW.
Clik here to view.
Step 2 (Add Sky)
Open and drag the Sky 1 into canvas and keep it at the top part of the canvas.
Image may be NSFW.
Clik here to view.
Open and drag the Sky 2 into canvas and Change the mode of the layer to Hard Light and reduce its Opacity to 80% Then slightly erase the bottom part with Eraser Tool (E )
Image may be NSFW.
Clik here to view.
Step 3 (Creating Sea part)
Open and drag the Sea 1 into canvas and erase the sky part as shown in the image.
Image may be NSFW.
Clik here to view.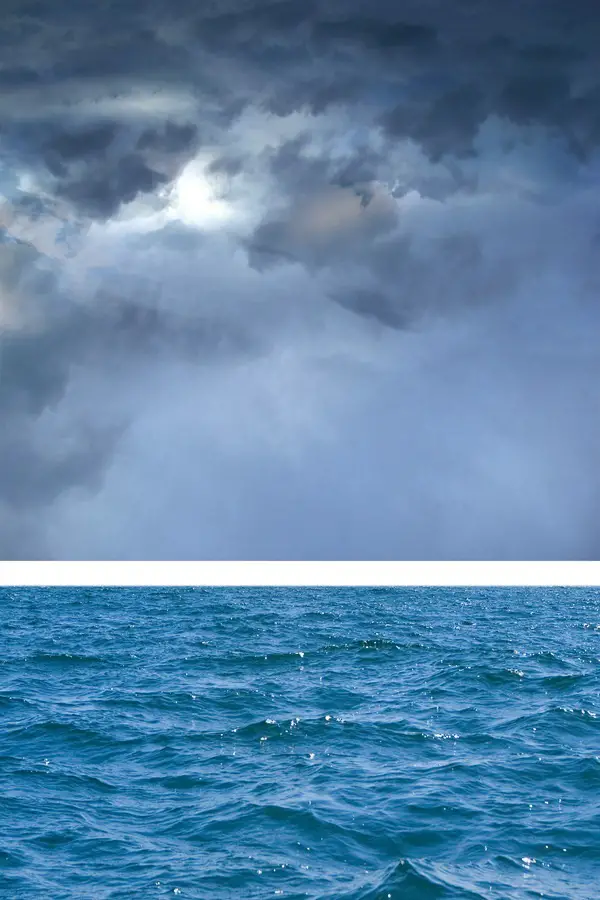
Duplicate the layer, move it to touch the sky and blend both those images using Eraser tool (E)
Image may be NSFW.
Clik here to view.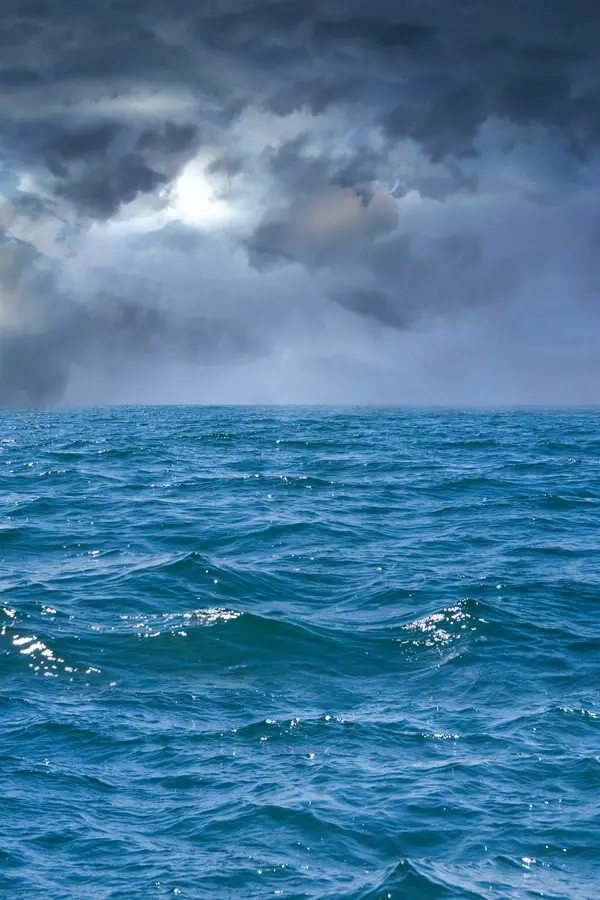
Step 4 (Build huge wave)
Open and drag the Sea 2 into canvas and erase the remaining part of image except the wave part we need
Image may be NSFW.
Clik here to view.
Use Color balance (Ctrl+B) with values (-50, 0 ,+10) to mix it with Sea.
Image may be NSFW.
Clik here to view.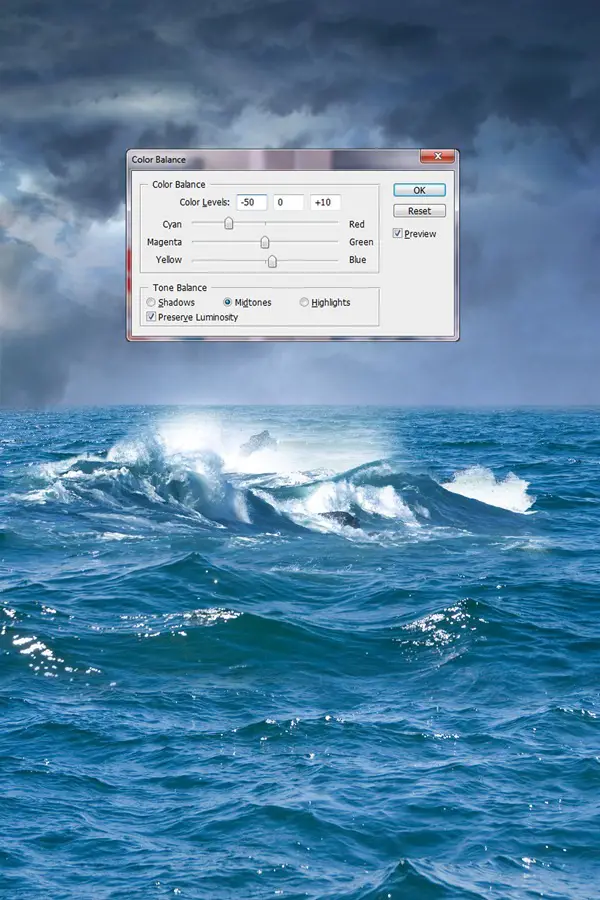
Step 5 (Create Thunder)
Take a new layer on top of all and use Brush Anodyne Stock Light No. 948 with white color to bring Thunder effect.
Image may be NSFW.
Clik here to view.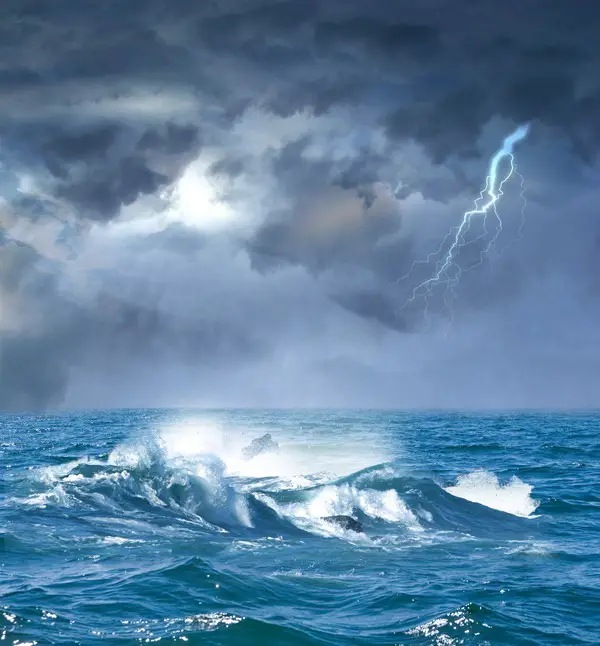
Take a new layer and use Soft round Bush Tool (B) to make the thunder glow and change the layer mode into Overlay.
Image may be NSFW.
Clik here to view.
Step 6 (Catch the shark)
Open and drag the Shark image into canvas and erase surrounding parts of the shark.
Image may be NSFW.
Clik here to view.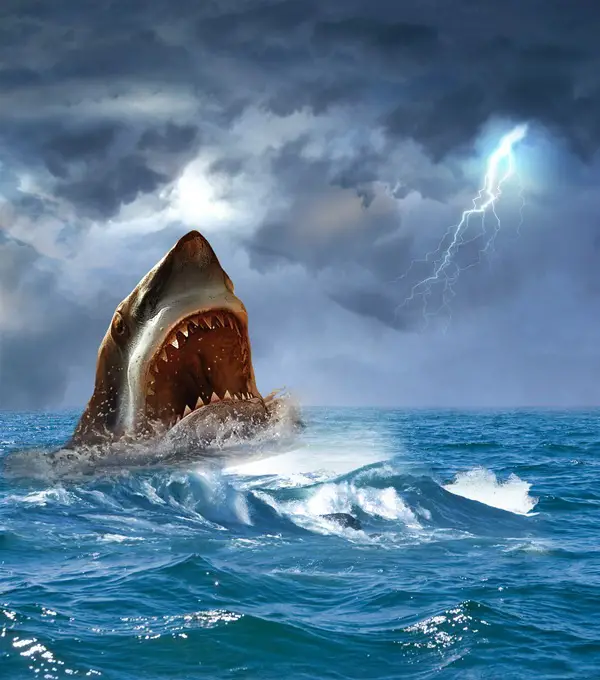
Take a new layer and use Soft round brush tool (B) with color (#354254) to paint glowing part of Shark on left hand side (As the thunder light is coming from other direction i.e Right)
Image may be NSFW.
Clik here to view.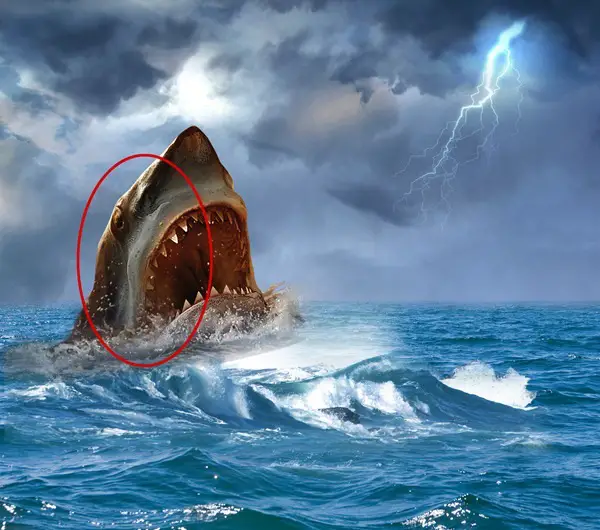
Use Color balance (Ctrl+B) with values (-50, 0 ,+55) to change the color of Shark from Yellow shade to sea blue.
Image may be NSFW.
Clik here to view.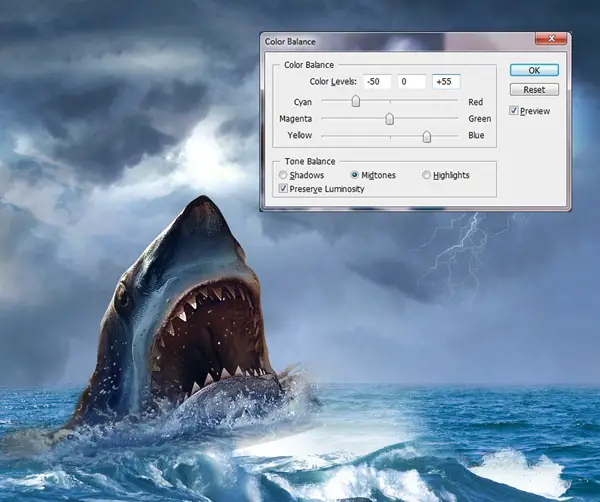
Copy the wave part and paste it again on right side of shark mouth.
Image may be NSFW.
Clik here to view.
Step 7 (Add boat)
Open and drag the boat image and select the red boat using Pen Tool (P) and place it in front of shark.
Image may be NSFW.
Clik here to view.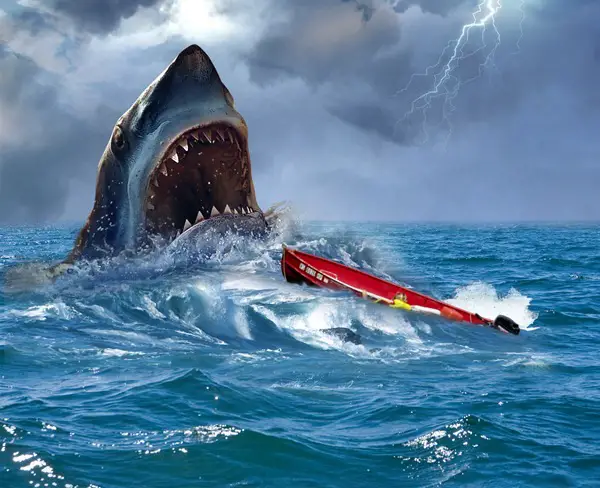
Step 8 (Bring Jumping Couple in)
Open and drag the Jumping couple image into canvas and select them using Pen Tool (P).
Image may be NSFW.
Clik here to view.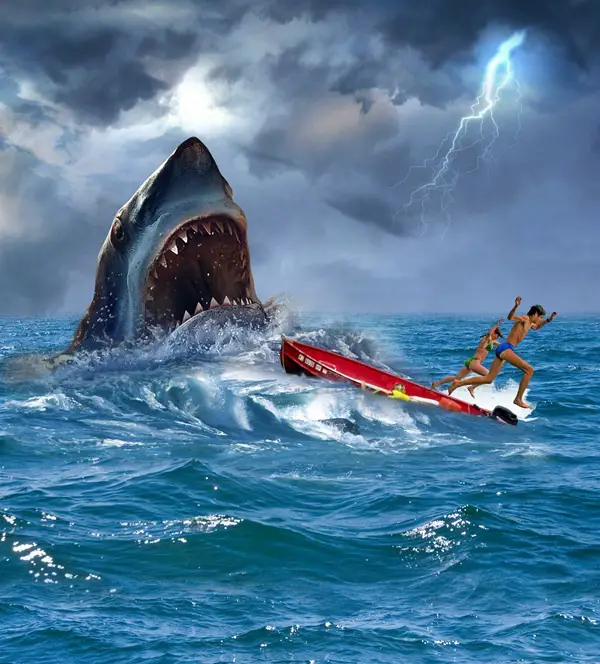
Step 9 (Adding splashes)
Now let‘s play with adding splashes around the shark, boat and characters. For that create a new layer and add water splashes with the downloaded brush Splashes to make contact between characters and water.
Image may be NSFW.
Clik here to view.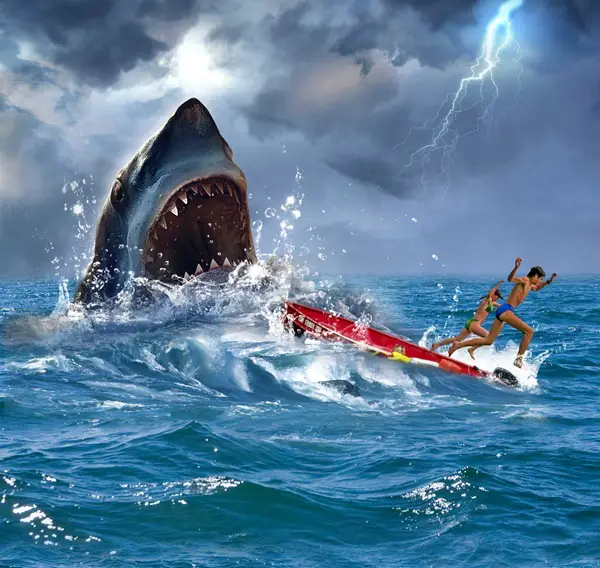
Step 10 (Adjusting the light)
Now let‘s change the environment lighting a bit bright using Curves option. For that go to layer > New Adjustment Layer > Curves then click OK.
Image may be NSFW.
Clik here to view.
And make curve as I shown below and apply it to total canvas.
Image may be NSFW.
Clik here to view.
Here is how it looks.
Image may be NSFW.
Clik here to view.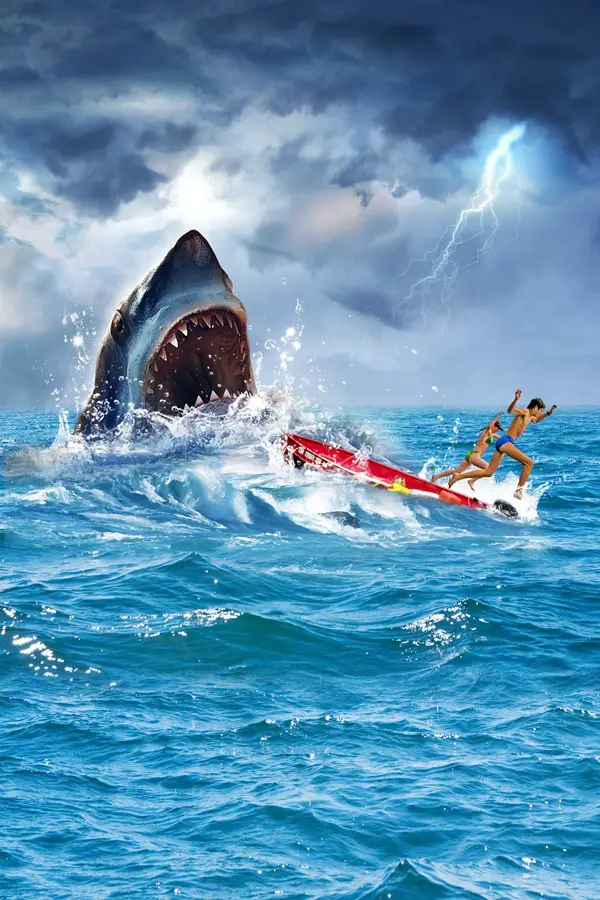
Step 11 (Adding Title and Captions)
Let‘s start adding Titles. Create a new layer, type the JAWS and make values as shown below.
Image may be NSFW.
Clik here to view.
Lets arrange the words (JWS) in such a way to have Shark instead of “A“ in JAWS.
Image may be NSFW.
Clik here to view.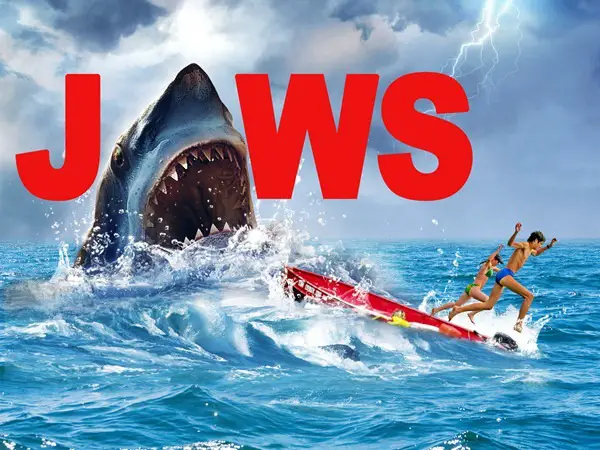
Make the title glow, double-click on the JAWS Title layer to access the “Layer Style“ and use the value as shown below.
Image may be NSFW.
Clik here to view.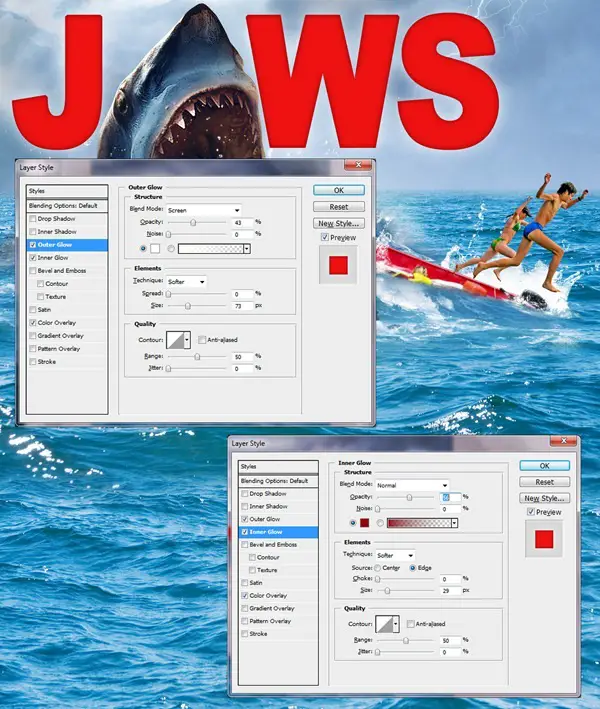
Then add captions as shown in the image. Feel free to choose fonts and colors of your own choice.
Image may be NSFW.
Clik here to view.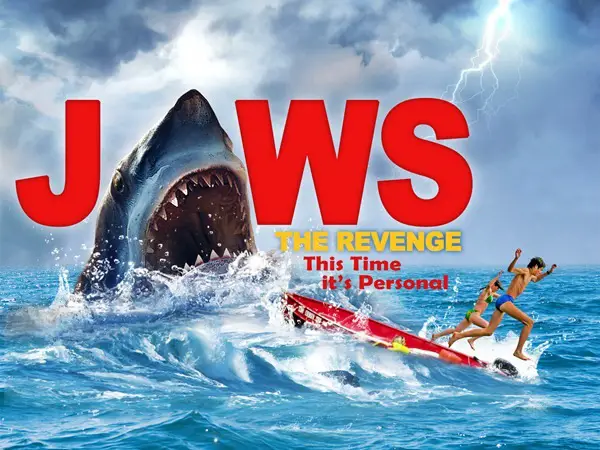
Then create a new layer and add some splashes on the title as well.
Image may be NSFW.
Clik here to view.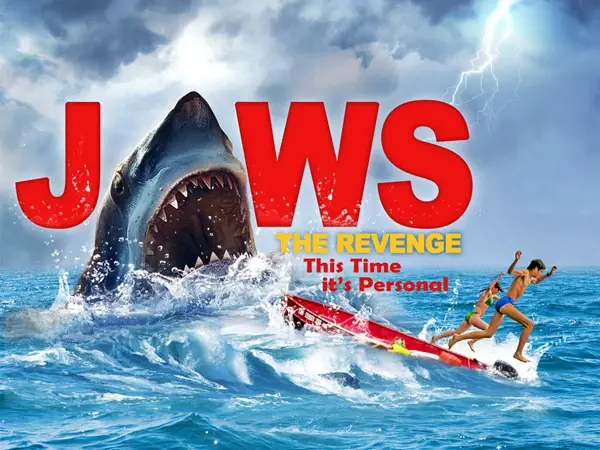
Step 12 (Add Dark shade at the bottom)
Let‘s add the dark shade at the bottom part of the poster. For that with soft round Brush Tool(B ) paint black color and change the mode of the layer into Multiply.
Image may be NSFW.
Clik here to view.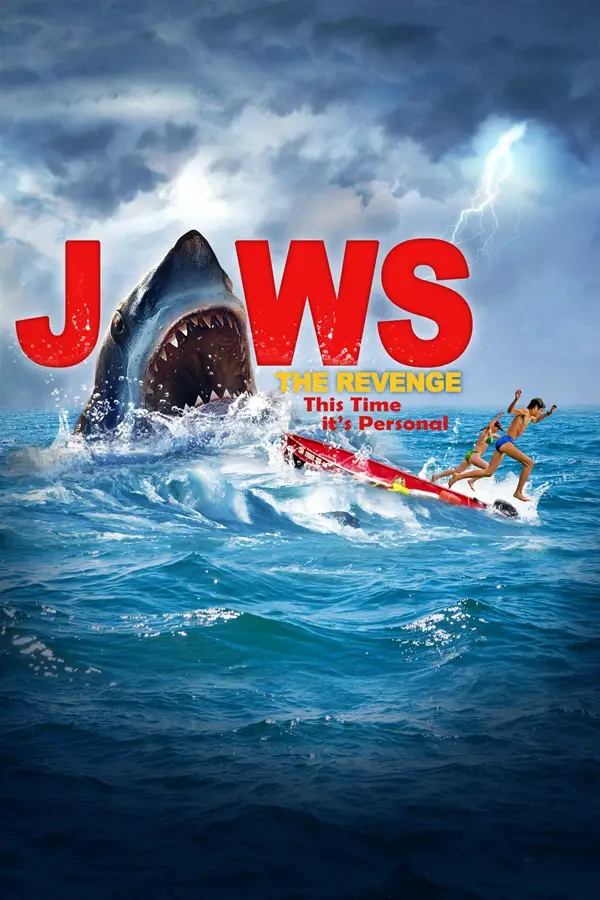
Step 13 (Adding subtitles)
We are almost done! Let‘s add subtitles at the bottom of the poster. Create a new layer and make rectangular shape with Rectangular Marquee Tool(M ) and fill it with dark blue color(# 00020a).
Image may be NSFW.
Clik here to view.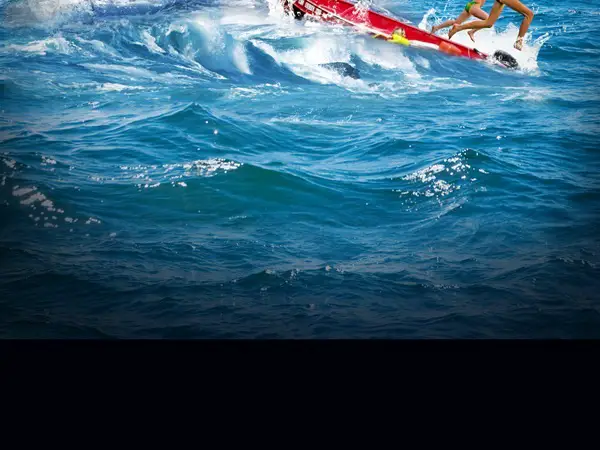
Let‘s give credits to crew.
Image may be NSFW.
Clik here to view.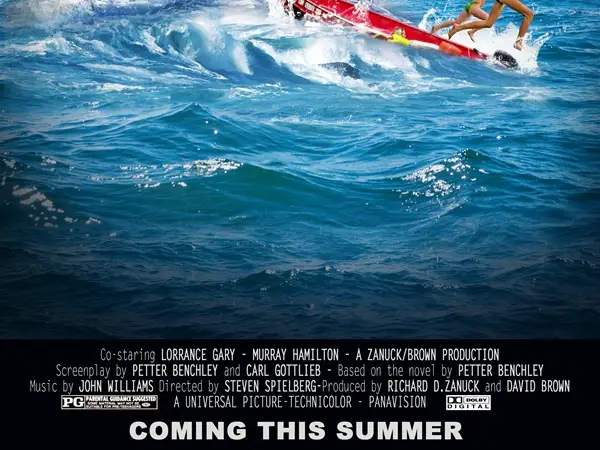
That‘s it, we are done! And here is the Final poster.
Image may be NSFW.
Clik here to view.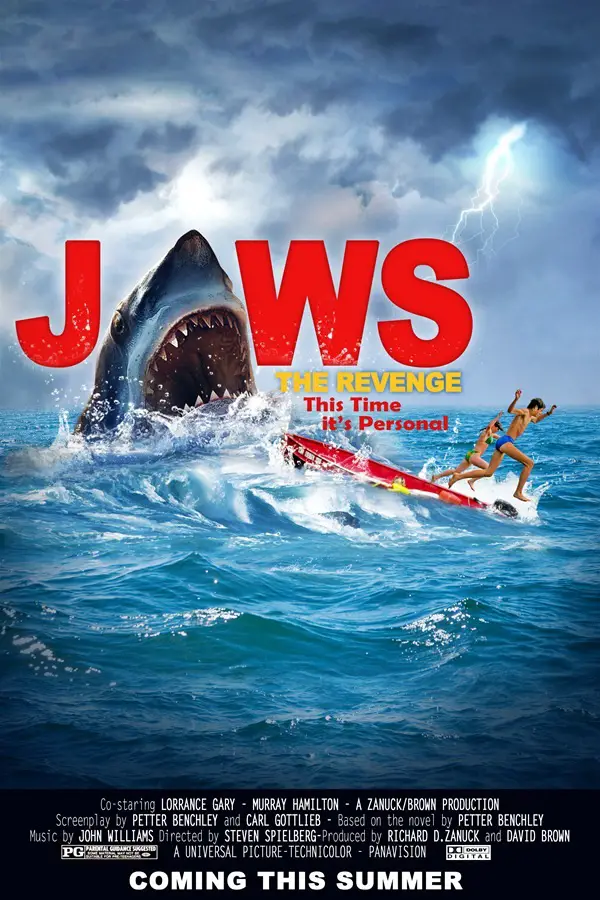
Image may be NSFW.
Clik here to view.
The post How to Create Realistic JAWS Movie Poster in Photoshop appeared first on Design Press.